iOS 13 Notification Settings
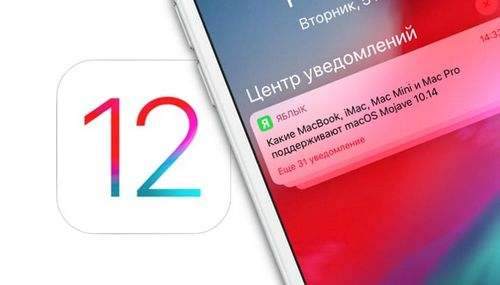
In iOS 12 (a detailed review), Apple added a feature that iPhone owners have been waiting for a long time. At WWDC 2018, Apple’s senior vice president of software development, Craig Federigi, announced the introduction of group notifications in iOS.

This function is somewhat more complicated than grouping by application, but it allows you to automatically group notifications. For example, if a user receives iMessages messages from several different sources, they will all be presented in separate groups.
Group notifications will save space on the lock screen of iPhone and iPad, combining new notifications for each application. It should be noted that users of Android devices have been familiar with this feature for quite some time.
According to Federigi, notifications will be displayed one above the other, making it easier for users to manage them.
Simply put, all notifications, say, from our iOS app Apple will be combined into one group and will stop cluttering the screen. When you click on a group, notifications are sorted.
In order to view the notification, just touch it with your finger. Swipe to the left will open a menu with options “To manage”, “Look” and “Clear”.
Judging by the publications on the network, fans of “apple” products are delighted with this innovation.
In addition to grouping, it became possible to manage individual notification chains directly in the Notification Center. To do this, swipe from right to left and click on the button “To manage”.
In the pop-up window that appears, you can select options Deliver without sound (notifications start coming in without sound) or Switch off (completely disables notifications from this application).
On THIS TOPIC: Siri quick (own) commands on iOS 12: what it is and how to create.
How to disable notification grouping on iPhone and iPad
However, for some users, grouping notifications may not be convenient. In this case, the iOS settings provide the ability to disable grouping for certain applications. You can do this as follows.
1. Open the application “Settings” and go to the section Notifications.
2. Click on the application in which you want to change notification settings.
3. At the bottom, click on “Grouping”.
4. By default, notifications are set to “Automatically”, which implies a “smart” grouping. However, there are other display options, in particular mode “By program”, in which all application notifications are saved in one group, or mode “Turned off”, returning classic display style of each notification separately.